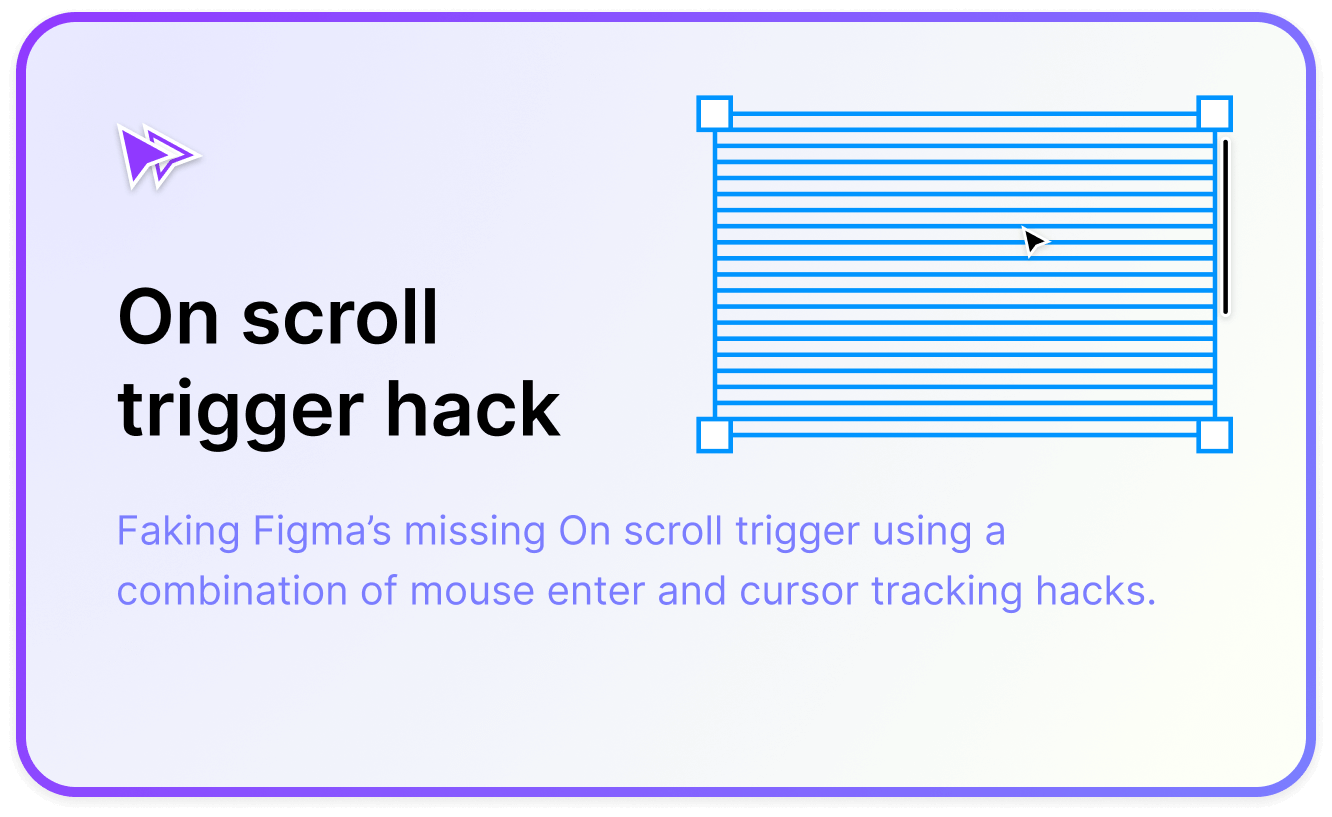
On scroll trigger hack

One interaction type that Figma still doesn't have is a scroll trigger. Sometimes I want something in my prototype to happen after scrolling past a particular element — but there isn't a native way to create it.
Two examples which come to mind are a fixed header bar that appears after scrolling down, and a button for scrolling to the top of the page.
We could use basic tricks to fake the effect, such as pressing a key on the keyboard to trigger an action at just the right moment, or moving the mouse pointer somewhere specific while scrolling. But most people won't know about these specific instructions when viewing the prototype — not really good enough for handoff.
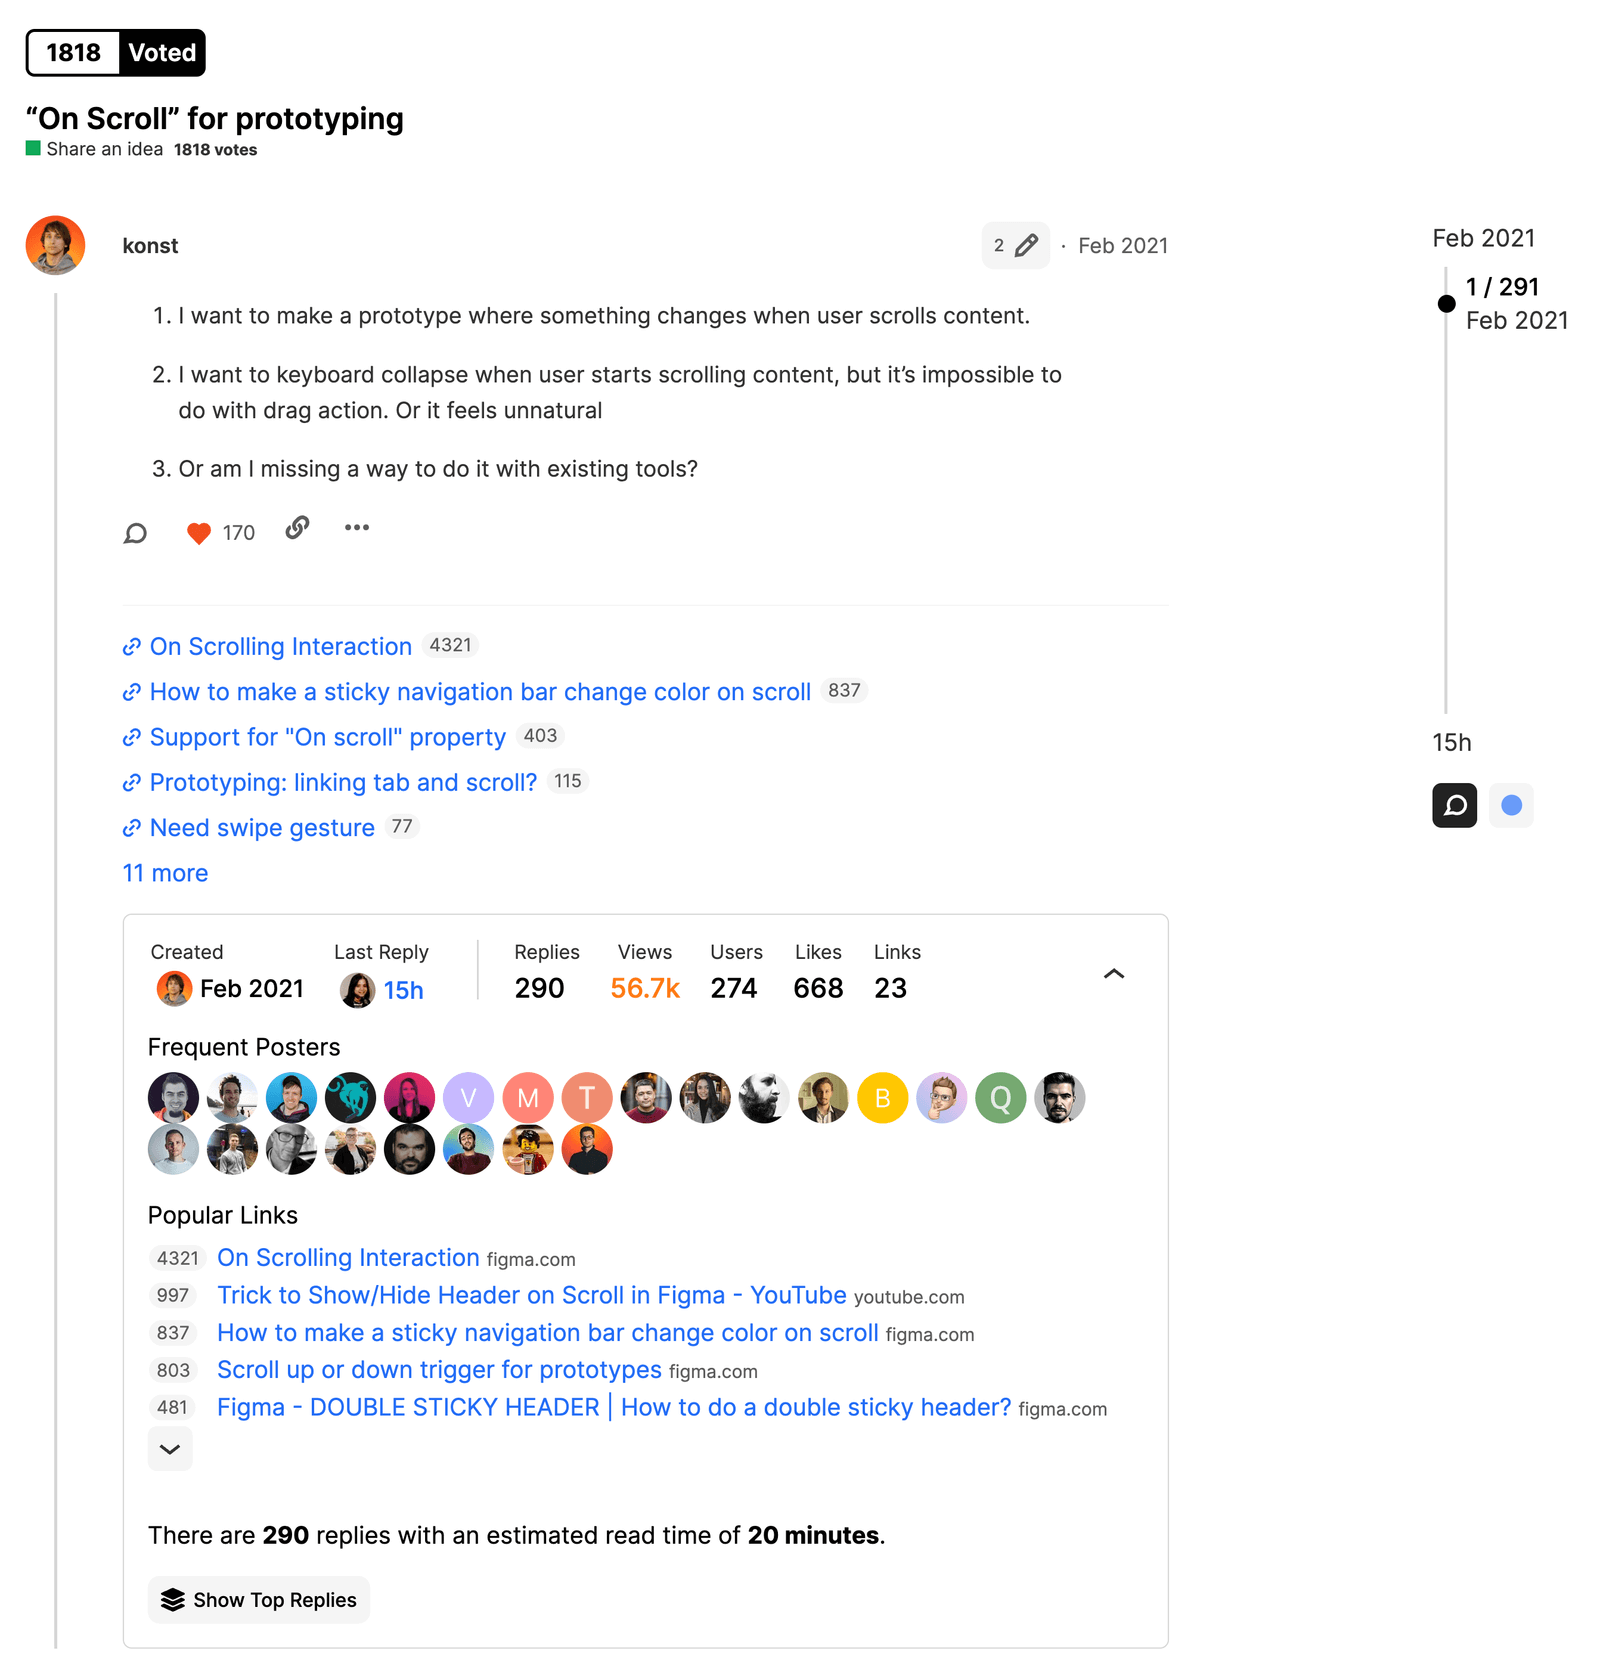
I hunted for a solution but I couldn't find any existing workaround. At the time of writing, it is the single most upvoted idea on the Figma forum at 1818 votes:
Then recently two different things popped into my head and I had idea.
Back before we had the 'Sticky' scroll behaviour position in Figma, there was a workaround for sticky headers where two frames would be used, one with the elements showing, one with them hidden and mouse enter events to navigate between them. This was crude but worked well enough in some cases. The problem with it though was that as you scrolled, your mouse cursor would always need to be positioned in the same place if you wanted the transition to happen at a specific scroll location. Not really ideal.
But I also remember seeing two videos by Double Glitch using a cursor tracking hack to create a really cool parallax effect (do check these out they are insane). This seemed like it could be the missing puzzle piece. The main problem with using mouse enter events to fake a precise scrolling location was that the mouse always had to be in the same location. But by storing a cursor position in a variable — surely we could combine these to move the interaction threshold and give the illusion of a precise scroll event?
I should preface this by saying this is the absolute hackiest hack of all hacks. We are talking about using mouse pointer events to emulate scroll position events. It is a terrible plan. The worst possible idea.
But... it actually turned out way better than I expected!
Elements appear after scrolling to a precise location. The blue dashed line shows how the activation threshold responds to the mouse position.
How does it work?
The design contains an interaction overlay with two 'mouse enter' interaction zones creating a 'threshold' where the mouse moves from one zone into another. Every time that threshold is crossed, a variable gets toggled to control the visibility of any desired UI elements and properties.
The top zone expands and shrinks dynamically in response to a mouse position variable. As the mouse moves up or down the screen, the top zone shrinks or grows and the activation threshold stays in the same place relative to the design — no matter where the mouse is.
This means any scroll position can be used for when the change will occur.
To set it up, first create 3 variables:
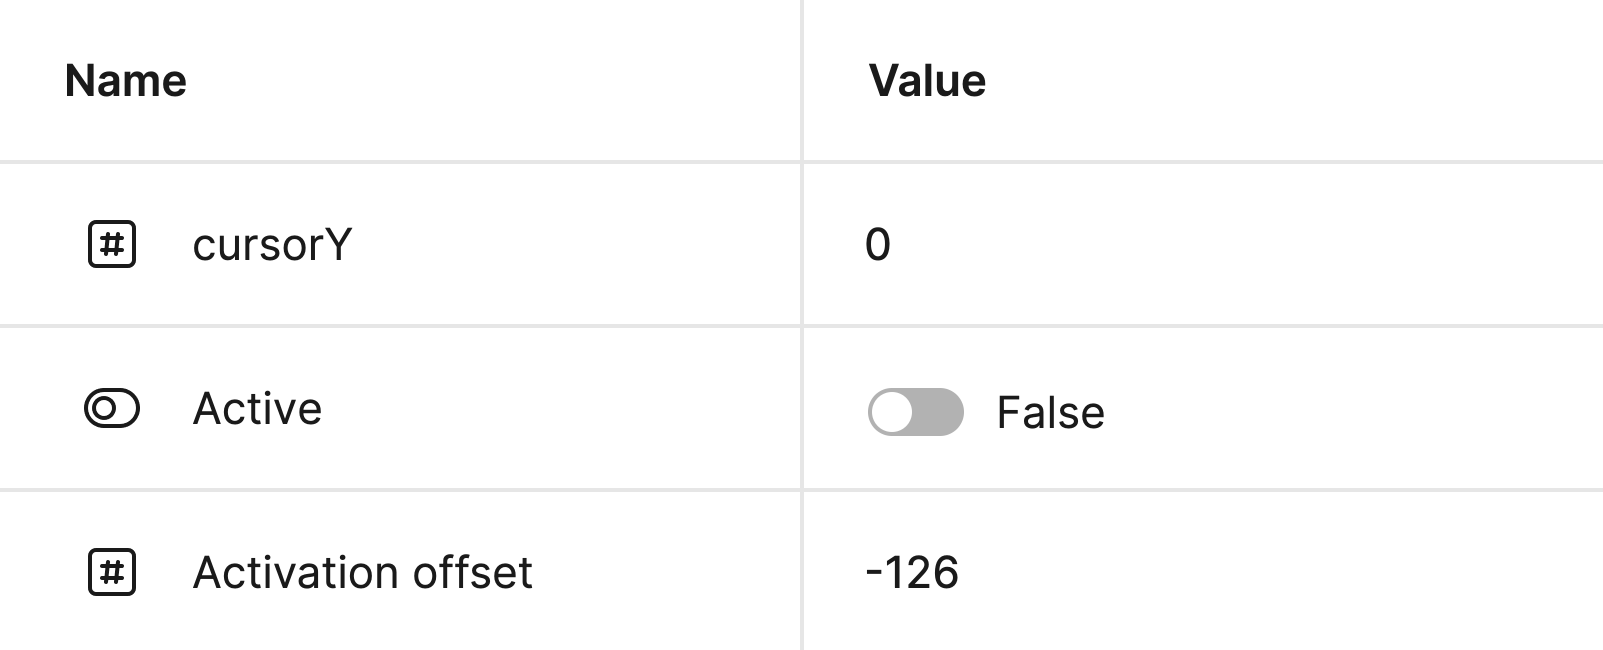
cursorY(number) for keeping track of the mouse position. Set this to 0.Active(boolean) for toggling state of UI elements in response to the scroll position. Set it to False.Activation offset(number) for subtracting fixed elements like system bars from the scroll activation area. The value can be anything for now.
Next we'll set up mouse position tracking. As a variation on Double Glitch's 'Trigger' terminology for the layer setup — I've chosen the term 'Sensor'. In the parallax effect example, both X and Y positions are needed, but because we only care how far down the mouse is on screen we only need Y.
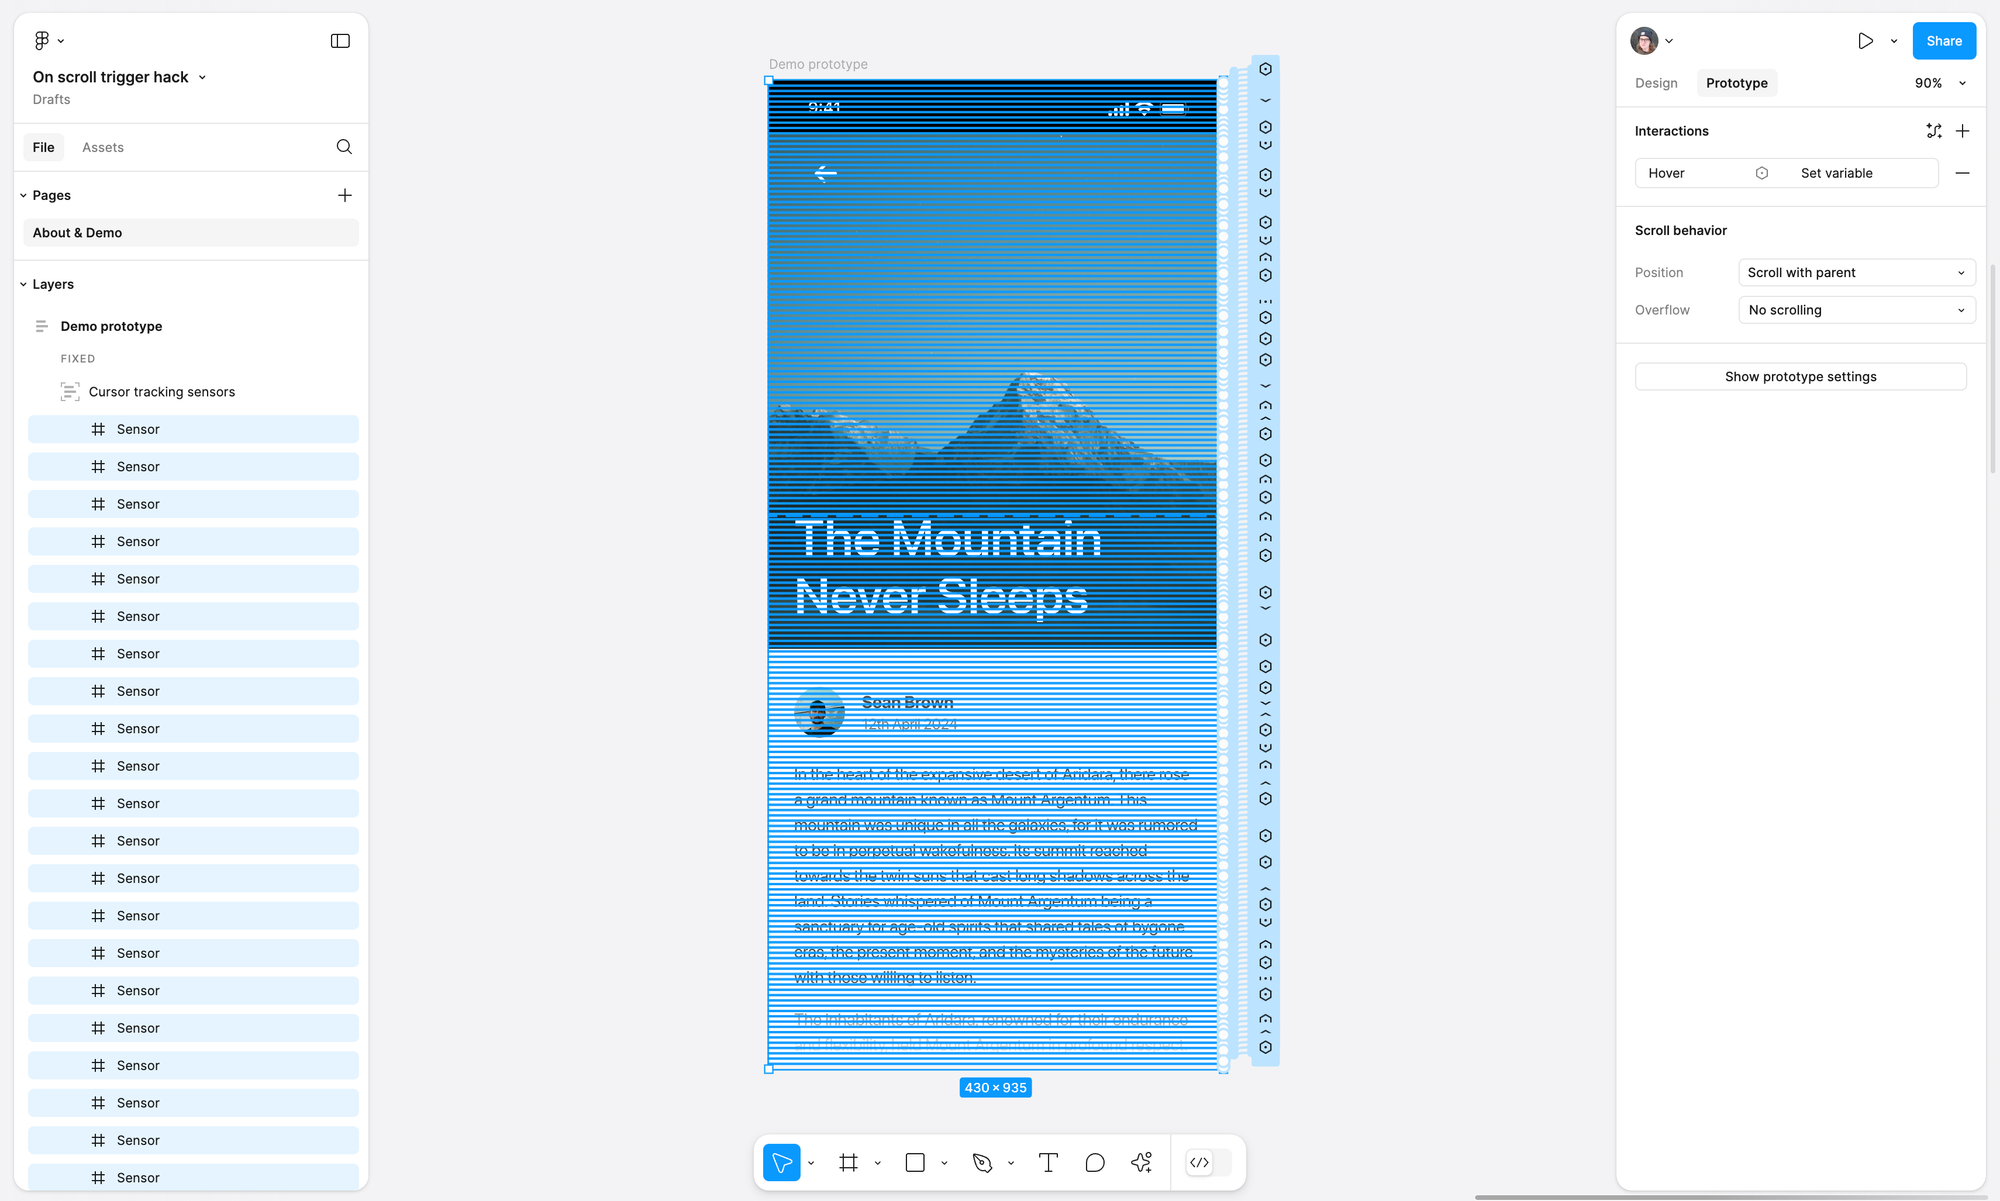
Create an auto layout container frame to hold all your cursor tracking sensors. Make it vertical layout with no gaps or padding. Insert it as the very top layer of your design and make it exactly the same the same size, absolute position, constraints set to Left and Right, Top and Bottom to make it responsive. Lastly, set the scroll behaviour position to Fixed so that it stays fixed to the screen when the content underneath scrolls.
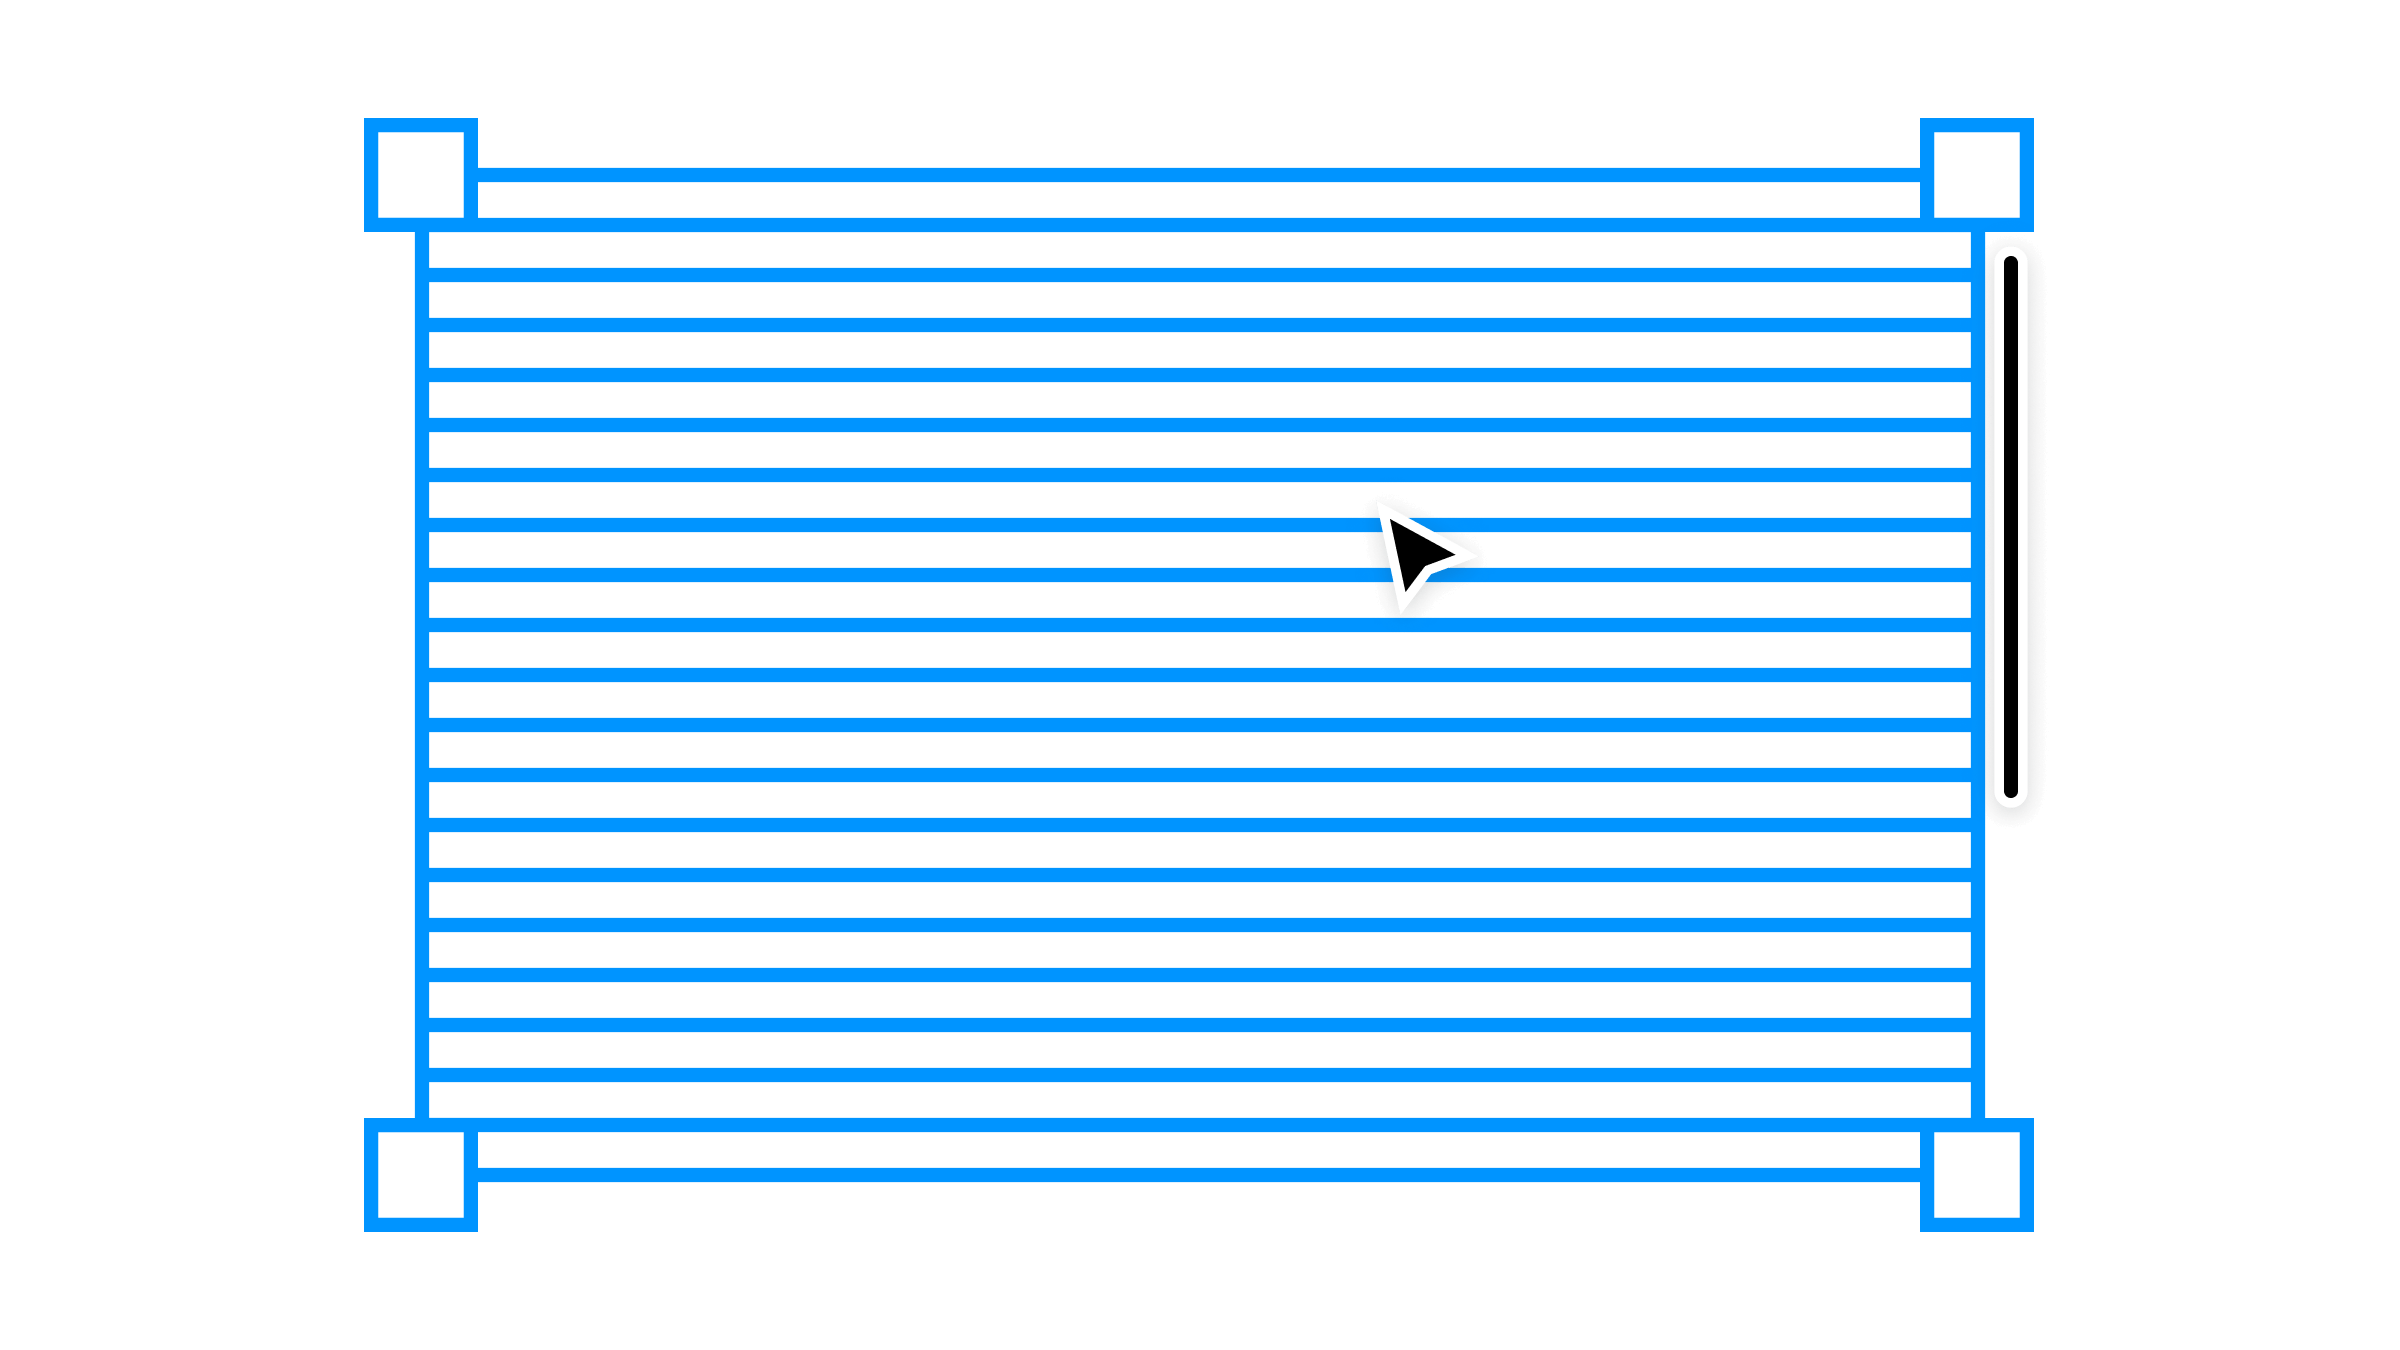
Inside the sensor container, create a frame called 'Sensor'. Make it fill width and 5px high. The height of each Sensor will be the 'precision' of your mouse position. You can choose what you want here and 1px precision does work, but the interactions can lag a little behind the mouse cursor. I suggest 5 because I've found for this particular use-case it seems to offer the best accuracy to performance ratio. Give the Sensor a 'While hovering' interaction to set the cursorY variable to 0.

Now duplicate it until the whole container is filled with Sensors. You should have a pack of thin interactive boxes covering your design:
The next part would be absolutely horrible to do by hand. You need to increment the cursorY position value in the interaction for each individual Sensor by the precision magnitude e.g. 0, 5, 10, 15, 20, 25 etc. You could do this, but there is another way to do it in bulk using Figma's API:
const Sensors = figma.currentPage.selection[0].children;

const Precision = 5;  // Make this match the height of each sensor
var count = 0;

(async function () {
  for await (const sensor of Sensors) {
    const newReactions = JSON.parse(JSON.stringify(sensor.reactions));

    newReactions[0].actions[0].variableValue.value = count;
    await sensor.setReactionsAsync(newReactions);

    count = count + Precision;
  }
})();
To run this script, open the browser development tools with ⌘ + ⌥ + I and navigate to the console tab. Make sure to set the Precision constant in the script to match the one you've used in your design. Now select the parent container housing all the Sensor layers, paste this into the console window and press Return. The interactions should now all have the correct mouse position values in them.
If you get an error about currentPage or anything else not being available — try restarting Figma. The API seems a bit flaky sometimes if the console is left open for a while.
For the other half of this hack you need to create a 'scroll interaction mask'.
Directly inside your main scrollable container (the Article in my case), create a vertically oriented auto layout frame for the interaction mask. Make it absolute position (ignore auto layout in UI3) and resize it to match the full size of your scrollable content. Set Left and Right + Top and Bottom constraints to make it responsive if you update the content later.
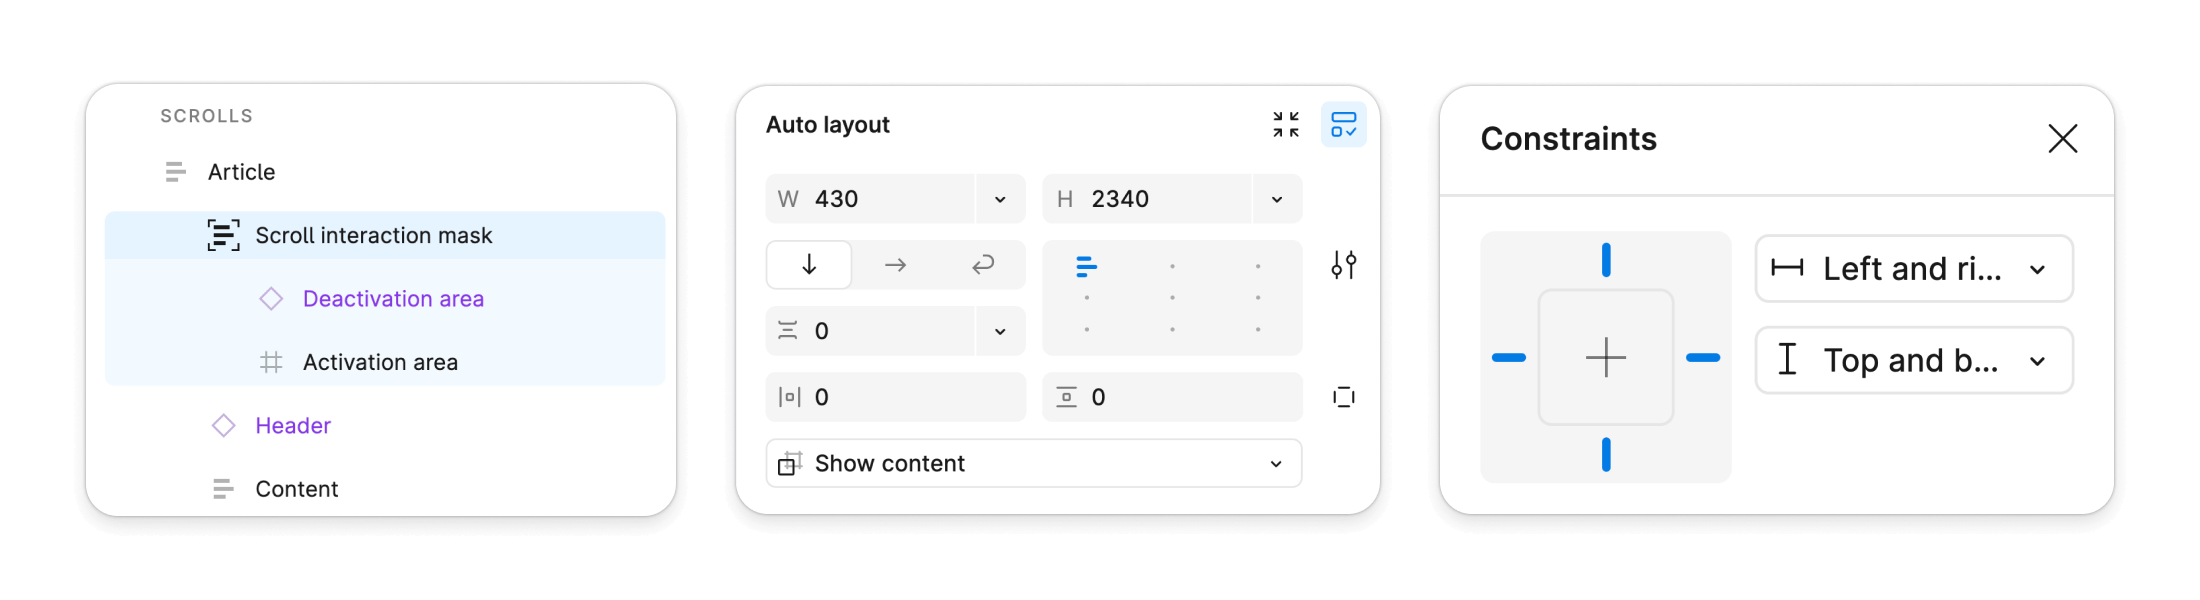
Inside the scroll interaction mask, place two more frames, a ‘Deactivation area’ and an ‘Activation area’. The Deactivation area needs be equal to the height you want to activate the the transition at, minus the height of any fixed sticky elements on the screen such as sticky headers or system bars.
You can achieve this in any number of different ways which suit your situation, but in my case I’ve just made my header element into a component and used an instance of that as my Deactivation area so that I don't need to go and update the height of it every time my header design changes.
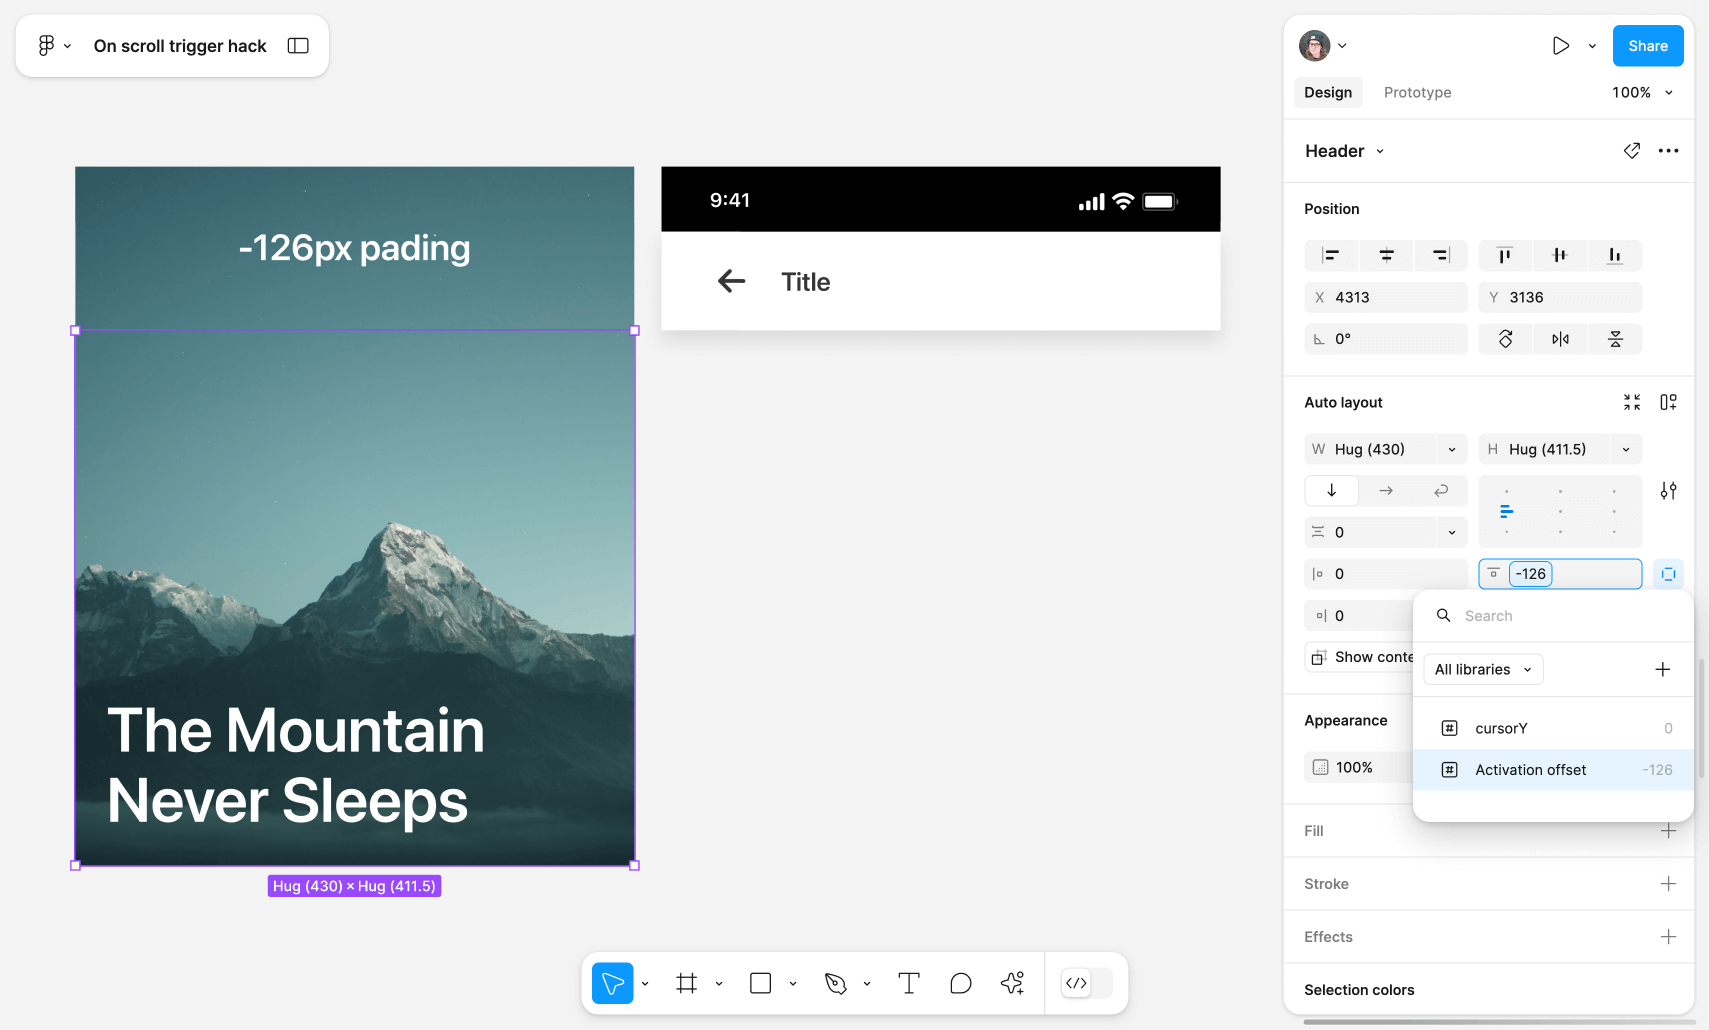
To achieve the offset needed for the top and system bars, I set the top padding of the Deactivation area to the Activation offset variable from before, and set the value for that in the variables panel to be equal to the height of my fixed elements. In my case the Fixed top bar and the System bar are 126px, so my Activation offset value is -126px.
Technically you can just fudge this number to be whatever you want in order to make the scroll event fire exactly where you want but it's entirely up to you how to use it. Alternatively you could use even more variables to set everything and make it all magically calculated.
Now set the bottom padding of the Deactivation area to the cursorY variable. This is the magic which makes everything work no matter where the mouse is by increasing the height of the area as you move the pointer downwards.

Configure the Deactivation area interaction with a mouse enter trigger and set the Active variable to False. Add a 100ms delay — this adds a little debouncing in case Figma’s interactions lag behind the mouse cursor when close to the interaction border.

For the Activation area, set the height to fill the remaining space of the scroll interaction mask, and configure the interaction with a mouse enter trigger (100ms delay) which sets the Active variable to True.

It is important that both of these interactions are are mouse enter rather than mouse leave to prevent the transition from reverting again when the mouse is moved away from the prototype.
Now to finally make the scroll trigger change the state of your design!
Create any component you like with a boolean True / False variant property — then wire the component instance property to the Active variable. You can also simply wire layer visibility or any other property to the variable to toggle:
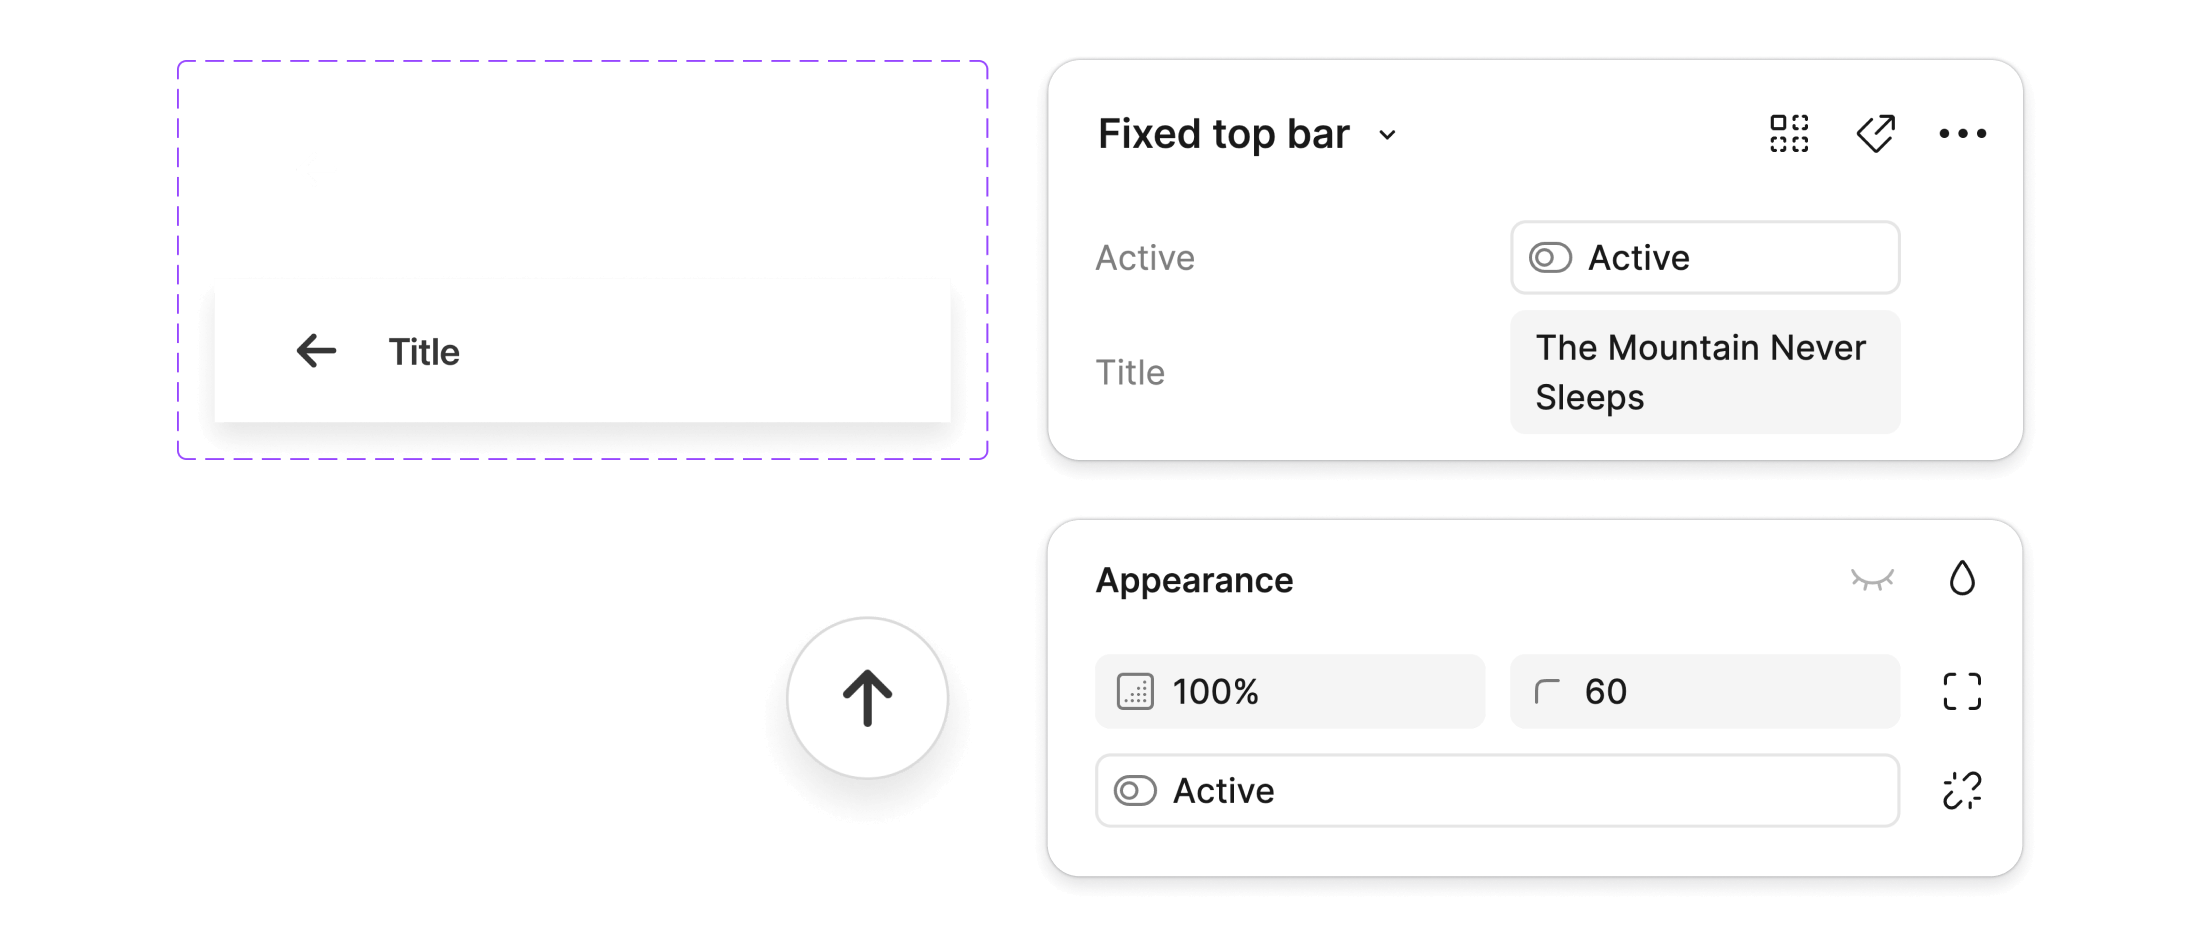
These elements and properties will now toggle in response to your scroll trigger interaction! 🎉🎉🎉
Congratulations! Now go take a well earned break... 😴
This seems complicated. Is there a way I can skip all of it?
Of course — I made a community file with the working prototype in it which you can copy and mess around with:
Issues and limitations
Other than being totally fake, there are three main problems:
- No touch device support. Due to the scroll trigger being based on mouse events, this can never work on actual touch devices because they have no mouse pointer — meaning it can only be used in the desktop prototype viewer.
- No animations. Unfortunately the variable based method of toggling element state doesn’t support animation. I’ve tried lots of other options like bringing up an overlay, navigating between whole frames, the 'Change to' action for supporting animations — but variable based variant and property toggling has the best performance by far, and most of these other options introduce unbearable scroll glitches so I can’t recommend using them.
- There are some glitches when the mouse is near the activation threshold (the blue dashed line). Updating the cursor position variable isn't as fast as the mouse movement speed and so sometimes it means the mouse eagerly crosses into the area which toggles the Active variable. It only happens near the blue line though — so it isn't a huge problem.
The last one is that this is clearly a complicated solution so hopefully we'll get this trigger type as a native option in Figma one day soon. 🤞
As I mentioned earlier I couldn't find any other examples of people talking about this particular hack — but do let me know in the comments if you know someone who has done this or something similar before!
Was this scroll hack helpful in your design? If you're able, small tips and donations help me find more neat tricks to write about.